Behind-the-Scenes: How Our Jewelry Is Made
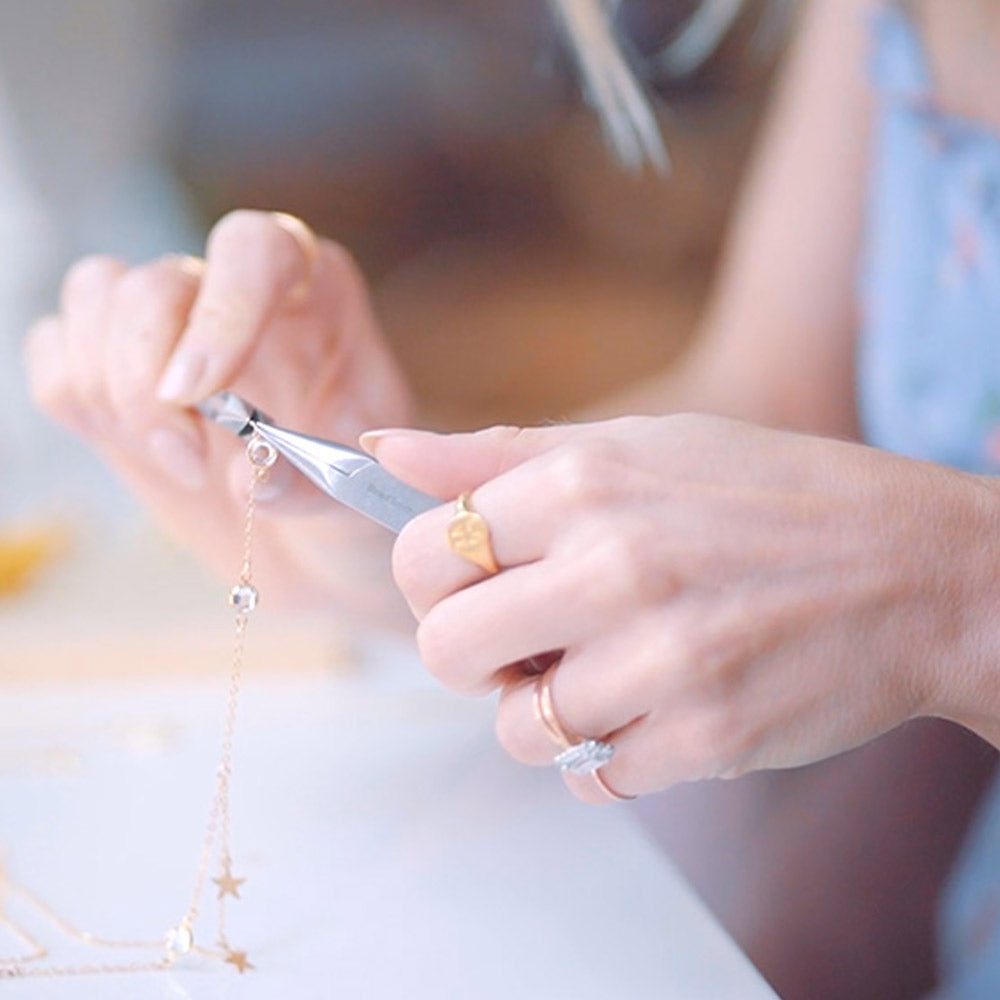
For four years I made every piece at Katie Dean Jewelry by hand and it was SO rewarding! Just knowing that my hands touched every single jewel that went to my customers was so special.
As we’ve expanded it was only natural that I had to pass on some of my production work to others in order for Katie Dean Jewelry to continue growing. It was REALLY hard to let go but if there’s one thing that I’ve learned about owning a business, it’s that you can’t do everything yourself. Not allowing others to help take the load off leads to burnout and overwork which is not good for anyone’s mental and physical health.
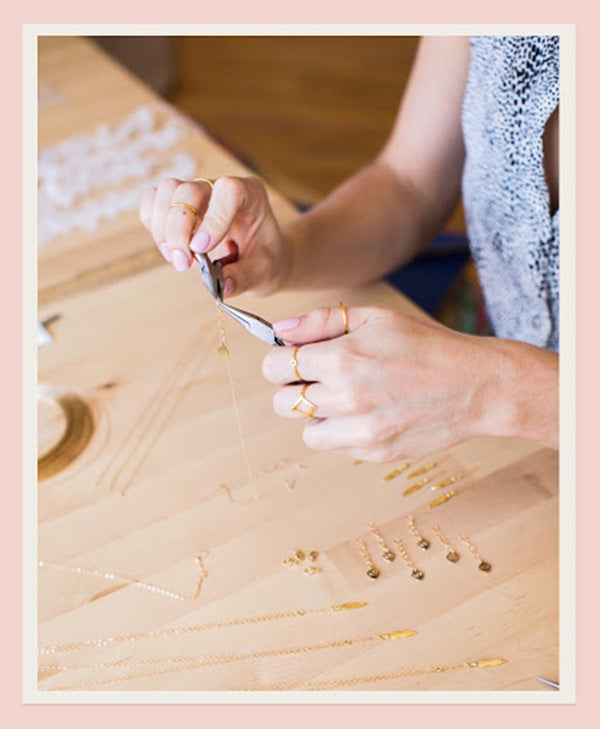
I continue to sketch and design each new piece and assemble the first samples myself which brings me immense joy! After finishing the detailing work on each new design to my satisfaction I then pass it along to my hand-selected helpers who assemble the pieces based on my sample. Every piece is still handmade in Los Angeles with love and care. It’s truly magical to see the visions in my mind come to life!
Here’s the step-by-step process of what happens and how each piece lovingly comes to life:
Step 1: Sketching the piece.

I’m constantly sketching new ideas, which is so much fun! I let my imagination run wild. When it’s time to officially start the process of a new collection, I go through all my sketches and star which ones I’m going to make. During round two of sketching, I try to be as exact and precise as possible. I mark the measurements and detail notes so that when we go to the next step the changes required are minimal.
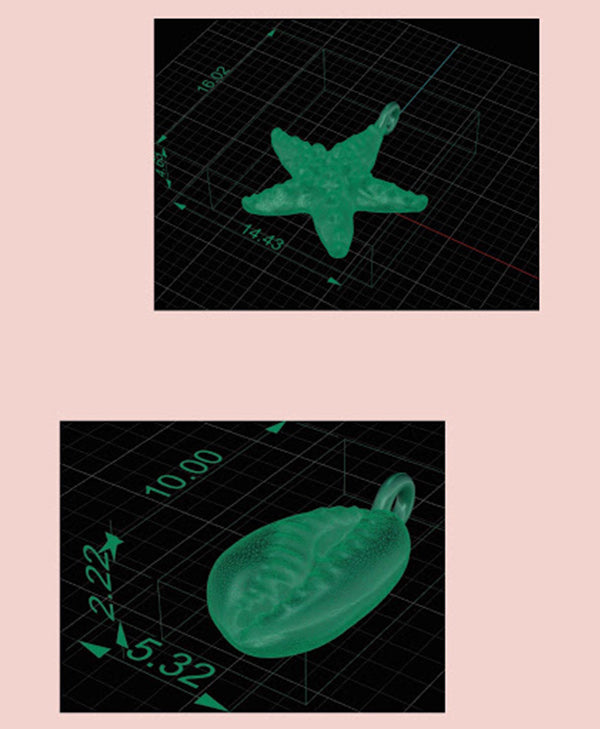
Step 2: Creating a computer generated image of my sketch.
This is a modern technology step and it’s really helpful. When we create a computer-generated image it’s three dimensional so I can envision what it will look like in real life and again, I try to be as precise as possible. In these beginning steps, if I can nail down all the details, it makes the rest of the steps flow much more smoothly.
Step 3: Make a wax of the design.
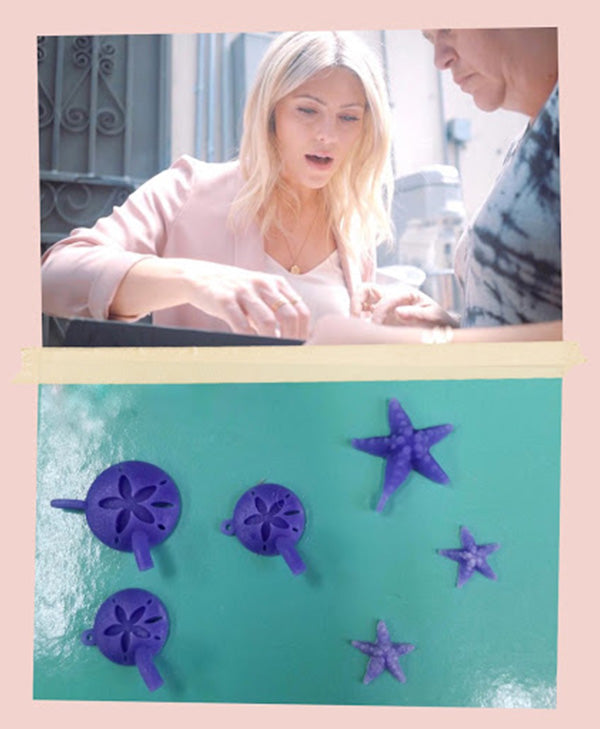
Based on step 2 above we then use a 3D printer to make a wax of the piece. And it means exactly that (see picture below). We literally make a wax of the exact piece. How cool is that?!
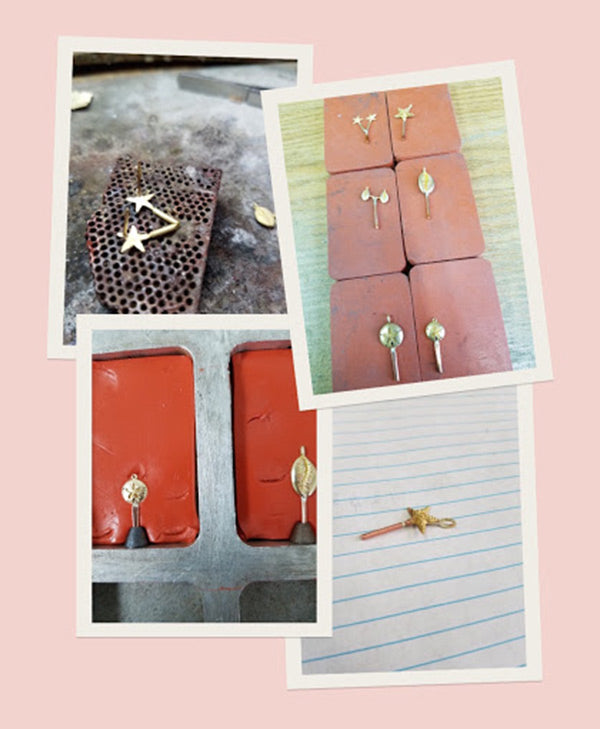
Step 4: Cast a master + create a mold of the design. After making multiple castings, they are plated.
I love this step because it’s when the piece really comes to life! If any additional detailing is needed for the piece, that is all done at this step on the master before the molds are made. This step is also crucial for making sure everything is just right because if it’s not, you have to start back at step 2 to make the necessary changes which means more time and more money in the initial production of the collection.
Step 5: Assemble the piece.
Finally, it’s time to assemble the piece with the freshly made charms and hand set stones, pendants, etc with chain, clasps, etc and whoolah! We start to celebrate here! The piece is officially complete and we are off to snap glamour shots of the collection (get ready for your close-ups ladies!).
Step 6: After a final quality check, that’s it!
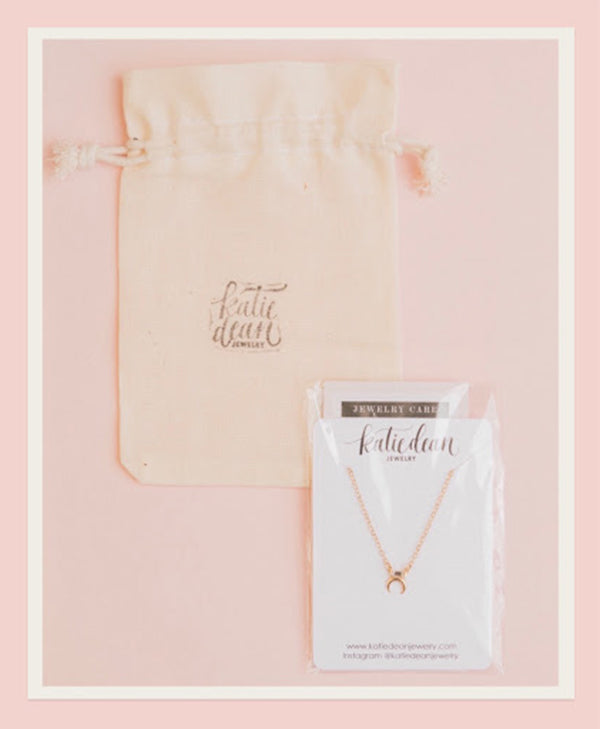
The dainty jewel is ready to find itself a new home and gets carefully placed in its pouch or box ready for its call up!
I hope you've enjoyed reading and seeing what our process is like!
Thank you for supporting a made in America small business.
XOXO,



Comments